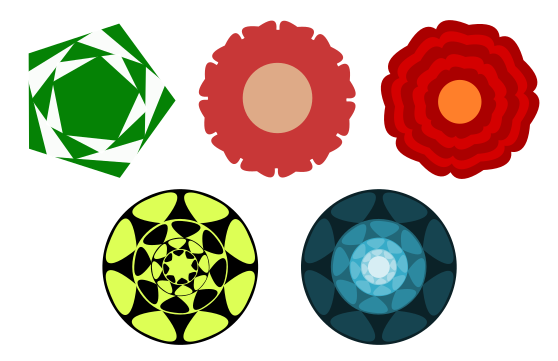
Polygon & Star Tool | Inkscape Tutorial for Beginners
In this article, we will discuss the next geometric shape of Inkscape, i.e. Polygon and Star Tool.
The Polygon and Star Tool, shortcut key Numpad * or Shift+8, is the most interesting and exciting tool of Inkscape in geometric shapes. It is used for creating not only just stars and polygons but its different options allow it to create many different and cool shapes just in seconds. Left Mouse Click and drag draw polygon or star on the canvas.
Polygon & Star Tool Controls Bar
Transform (Move, Scale, Rotate and Skew)
For scaling, moving, skewing, and rotating the polygon or star, you can switch to the Selection tool by pressing the Spacebar and come back to the polygon & star tool by pressing it again. If Selection Tool is currently selected, then Double Click on the polygon or star can also open the Polygon & Star Tool. To learn more about Selection Tool and its functions, click here👈
It can also be done by using Transform Properties, but here we will only discuss Polygon & Star Tool controls. We will discuss about Transform later in detail in next articles.
Polygon Control Bar
The first two options are used to specify which shape you want to draw, whether polygon or star.
Left-click and drag draws five corner polygon. By default, the corners are 5. You can change the number easily by just updating the corners option. For example, you want to draw a hexagon, then change corners to 6, and that’s it your hexagon is ready. Even you can add as many corners as you like. You can also create a square and triangle with the polygon. For a square, the corners will be four and for a triangle, it will be three.
When the polygon is created, a diamond-shaped handle appears at one of the corners of a polygon. This handle is used for multiple purposes. Left-click, hold, and drag changes the size of the polygon. Moving inward makes it small, and moving outward makes it large. Similarly, if you move the cursor in a circle, then it will rotate the polygon in its respective direction. So, if you want to resize the polygon without changing the direction of its corners, then hold the Ctrl key; it will restrict the rotation of the polygon while you resize it.
Next is the Rounded option. It is used to make rounded corners of the polygon. Its value ranges from -10.000 to 10.000. The zero (0) value is for sharp corners.
 |
| Shapes created using Rounded |
The Randomized option is used to scatter the corners and angles of the polygon randomly. Like Rounded, its value also ranges from -10.000 to 10.000. Zero (0) value is to restore all corners and angles.
 |
| Irregular Shapes created using Randomized |
Following are some examples that you can create using Polygon Tool (Try to create them):
Star Control Bar
Left-Click and drag will draw the classic star with five corners. You can change the number easily by updating the corners option, so you can add as many corners as you like. The value of the corner ranges from 2 to 1024.
When a star is created, two diamond-shaped handles appear at the corners of a star. The one at the outer corner is used to adjust the tip radius, and the other at the inner corner is used to adjust the base radius.
Dragging handles while holding the Ctrl key will shrink or enlarges the star only. Ctrl restricts the twisting and rotating of the star. The star will be twisted without holding the Ctrl key. Without holding Ctrl, it will be hard to avoid twisting the star. The Spoke ratio option is used to perform the same task from the Tool Control Bar. It specifies the ratio between the base radius and tip radius. By default, its value is 0.5000. Its value ranges from 0.010 to 1.000.
 |
| Shapes drawn by changing handles position |
Next is the Rounded option. It is used to make rounded corners of stars. Its value ranges from -10.000 to 10.000. The zero (0) value is for sharp corners. It can also be done by holding the Shift key while dragging the handles.
 |
| Shapes created using Rounded |
The Randomized option scatters the corners and angles of stars randomly. Like Rounded, its value also ranges from -10.000 to 10.000. Zero (0) value is to restore all corners and angles. This can also be done by holding the Alt key while dragging the handles.
Following are some examples that you can create using Star Tool (Try to create them):
Restore Default Shape again
To restore the default settings of the ellipse, click on the Reset Shape parameters to the default button, the right-most button in the Tool Control bar.
In the next article, we’ll talk about the next geometric shape i.e. 3D boxes Tool so stay tuned.
If you have any queries ❓❓❓, FEEL FREE TO CONTACT US. We will surely help you to sort things out.
HAPPY DRAWING😀


